_1745823981883.webp)

How to Install a Reverse Osmosis System at Home: Step-by-Step Guide
When you put in a reverse osmosis system at home, the advanced membrane filter technology turns your tap water into pure, clean drinking water. Putting the system under your kitchen sink, connecting the pre- and post-filters, setting up a dedicated faucet, and putting the pressure storage tank are all parts of this complete process. Most people can do the work themselves in two to three hours with simple tools, but having a professional do it will ensure the best performance and protect your warranty.

Understanding Your Water Purification System Components
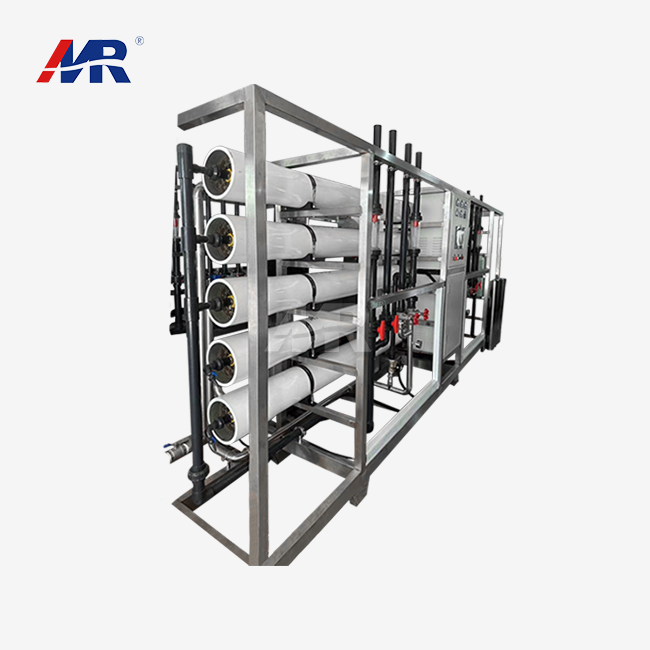
Before you start installing, getting to know each part helps the process go more smoothly. A normal home RO water filter has several steps of filtration that work together to get rid of contaminants in your water supply.
Larger particles, such as sediment, chlorine, and organic substances that could hurt the delicate reverse osmosis membrane, are caught by the pre-filter capsule. This first layer makes the water better generally and extends the life of the membrane. For full safety, most systems have both silt and carbon pre-filters.
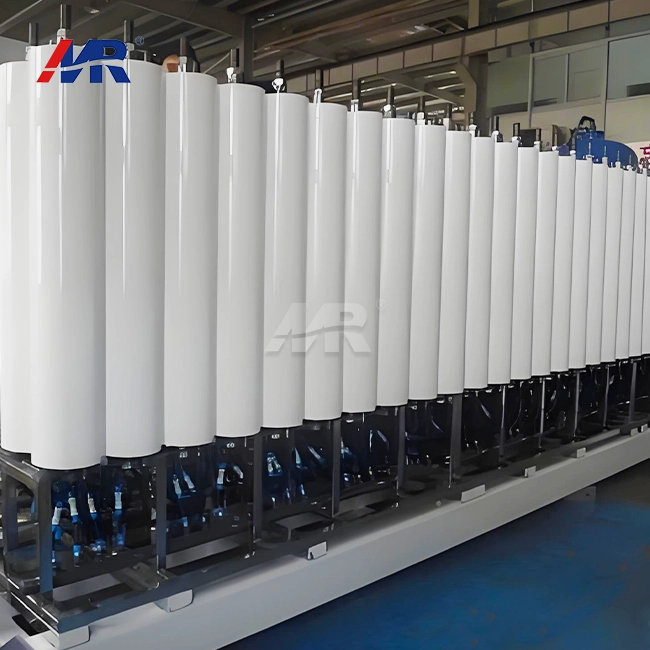
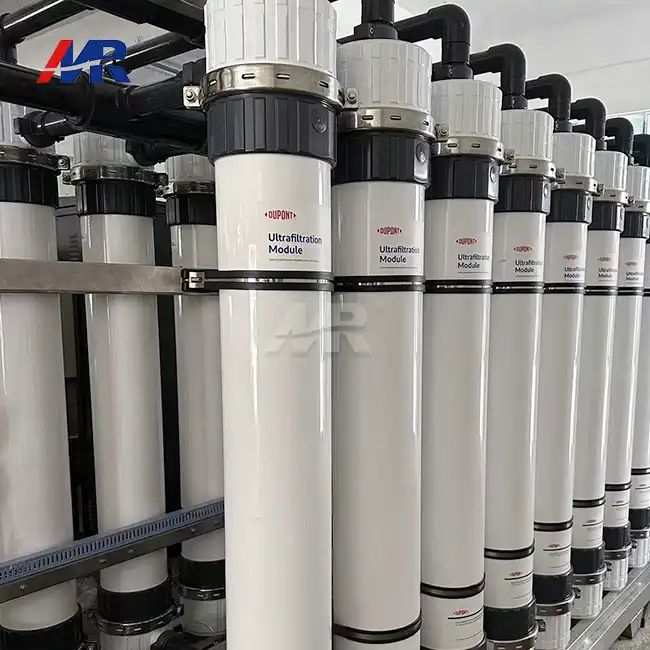
The semi-permeable membrane, which has pores about 0.0001 microns in diameter, is the heart of your water filtering device. This amazing part stops dissolved salts, chemicals, bacteria, and other contaminants from getting through, but it lets water molecules pass through. Up to 99% of all dissolved solids can be taken out of your water source by good filters.
Post-filtration is the final step in cleaning the water to get rid of any tastes or smells that are still there after it leaves the storage tank. Activated carbon is usually in the post-filter tube to make sure your drinking water tastes clean and fresh. Some more modern systems have mineral screens that add back in the good minerals that were taken out during the purification process.
Essential Tools and Preparation Steps
Preparing properly keeps the work from taking too long and guarantees professional results. Getting the right tools together ahead of time will save you time and stress during the setup process.
An adjustable wrench, a Phillips head screwdriver, a drill with different bits, a measuring tape, and Teflon tape for strong links should all be in your tool kit. A TDS meter is very helpful for checking the quality of the water before and after placement, which shows that the system works. When you work in tight areas or make mounting holes, safety glasses will protect your eyes.
Finding the cold water line under your kitchen sink is the first thing you need to do to get ready for the water supply, installing RO system. A saddle valve or T-fitting link is used in most installations to connect to the cold water source that is already there. By turning off the main water supply, floods can be avoided while the link is being made. By clearing out the closet space, there is enough room to place the components and get to them for future repair.
Professionals who treat water say that you should check your receiving water flow before installing. For best operation, most home systems need between 40 and 80 PSI. If the pressure is low, you might need to add a water pressure pump to make sure that enough water flows through the barrier. A pressure-lowering valve might be needed if the pressure is too high to keep the membrane from getting damaged.
Step-by-Step Installation Process
The order in which the parts are installed is very important for getting the best system performance and stopping leaks. Following the right order makes sure that each part fits together perfectly with the next.
Start by using the right fasteners to firmly attach the system's main housing unit to the closet wall. Place the unit so that the filter cartridge can be easily replaced, and there is enough room for the water lines. Carefully mark the fastening holes and make pilot holes to keep the cabinet from getting damaged.
Use the fittings that come with the system to connect the cold water supply line to the system's outlet. Threaded joints can be made leak-proof by putting Teflon tape over them. Depending on how your plumbing is set up now, the water supply link is usually made by adding a saddle valve or a T-fitting. Tighten connections well, but don't tighten them too much because that can damage the fittings.
Install pre-filter cartridges according to the manufacturer's instructions, making sure they are seated securely and in the right way. Usually, the filtration process goes from the sand filter to the carbon filter and then to the membrane housing. When installed correctly, escape flow is stopped, which lowers the efficiency of removing contaminants.
Place the storage tank in an easy-to-reach spot inside the cabinet, leaving enough room for it to expand as it fills up. Use the tubes and fittings that were given to connect the tank to the reverse osmosis system. When the holding tank is empty, it keeps its internal pressure at 6 to 8 PSI, which keeps the water flowing to your specific faucet.
Installing the Dedicated Faucet System
To get clean water on demand, your drinking water system needs a different faucet. This separate exit keeps clean drinking water from getting contaminated by polluted water while still making it easy to get.
Pick a suitable spot on your sink or tabletop to put the faucet. The fixing hole should be big enough to fit the tap stem and be easy to get to every day. A lot of sinks come with holes already drilled in them that are made to fit water filter taps. If you have to drill, make sure you use the right bits for your sink material so it doesn't crack or chip.
Put the faucet tube through the mounting hole and then tighten the faucet assembly as directed by the maker. Most of the time, the faucet stem is threaded through the sink hole, and the fixing nut is tightened from below. Make sure there is enough space for the tap handle to move and the spout to go where it needs to go.
The faucet tubing should be connected to the system's last output link, which is usually found after the post-filter step. This connection sends clean, ready-to-drink water straight to your glass or container. Make sure all tube links are tight so they don't come loose during normal use.
Testing and System Commissioning
Before normal operation starts, thorough testing makes sure that the work was done right and finds any problems that might happen. This important step makes sure that your investment in water treatment works as planned and lasts as long as possible.
First, slowly open the water supply valve and make sure there are no leaks in any of the links. Small leaks at compression joints usually stop once the system is fully pressurized. Constant leaks need to be fixed right away to stop water damage and keep the system's integrity.
Before drinking filtered water, flush the system well. During the first flushing, factory leftovers, carbon fines, and preservatives are removed from the system's parts. Most manufacturers say to throw away the first tank fill and let the system fully refill before using it.
Use a TDS meter to check the quality of the water to see how well the contaminants are being removed. Total dissolved solids in incoming water are usually 150 to 500 PPM, but systems that work right can lower this to 10 to 50 PPM. Large differences from what was expected could mean that there were mistakes during installation or that parts are broken.
Watch how the system works for the first few weeks, writing down when the tanks are filled, how the water tastes, and if you hear any strange sounds. Periodically, the automatic flush system runs to keep the membrane clean and stop organic growth. Normal running makes very little noise, except when the tanks need to be refilled.
Maintenance and Long-Term Performance Optimization
Regular repair keeps the water quality stable and extends the life of system parts. Setting up a repair plan will keep your clean water technology working well and protect your investment.
The pre-filter cartridge needs to be changed every 6 to 12 months, based on the water quality and how often it is used. In places with a lot of particles, sediment screens may need to be changed more often. Most carbon filters last longer, but they should be changed when they start to taste or smell bad.
Under normal home settings, when installing RO system, the reverse osmosis membrane needs to be changed every two to three years. When properly kept, high-quality membranes keep working well for as long as they are used. To change a membrane, you have to turn off the water flow, depressurize the system, and then install the new part according to the manufacturer's instructions.
Keep an eye on your garbage recycling ratio to make sure your business runs smoothly. When systems are set up correctly, they make 3–4 gallons of concentrate for every gallon of clean water. More waste could mean that the membrane is getting clogged or that the system pressure isn't right. Professional water cleaning services can improve the performance of your system and make parts last longer.
If it comes with a UV sanitizer, the lamp needs to be replaced every year to keep disinfecting effectively. Over time, UV lights lose some of their power, which makes them less effective at killing germs and viruses. Changing the lamps once a year provides constant microbiological protection, no matter what the lamps seem to be used for.
Troubleshooting Common Installation Challenges
Even if you are very careful during installation, problems can still happen. Knowing about common problems and how to fix them helps keep systems running well and stops expensive service calls.
Low water pressure is usually caused by not enough supply pressure, pre-filters that are clogged, or membrane scaling. Supply pressure problems can be fixed by installing a water pressure pump. Changing the filter on a regular basis stops flow limits that lower the output pressure. Depending on how bad it is, membrane scaling needs to be cleaned by a professional or replaced.
Strange tastes or smells usually mean that the carbon filters are empty or that bacteria are growing in water that isn't moving. By replacing the carbon filters, the ability to improve taste is restored. Flushing the system completely gets rid of any standing water and the bad smells that come with it. If problems keep happening, you may need to put a UV sanitizer to keep things clean.
Tank filling issues are usually caused by bad tank pressure, broken check valves, or membrane performance issues. It should read 6 to 8 PSI when the tank is empty. If a check valve fails, treated water can run backwards, which stops the tank from filling properly. Membrane fouling slows down the production of water and makes it take longer for the tank to fill up.
System leaks need to be fixed right away to keep water quality high and the property from being damaged. When tightening compression joints, be careful not to over-torque them. To make sure the fitting seals work right, tube cuts must be clean and straight. To keep the system's structure, damaged parts must be replaced with parts approved by the maker.
Conclusion
A properly installed reverse osmosis system represents one of the most reliable ways to secure safe, high-quality drinking water in a modern home. Careful planning, correct component installation, and thorough commissioning are just as critical as equipment selection when installing RO system units. Following structured installation steps, verifying water pressure, and conducting post-installation testing ensure optimal contaminant removal and system longevity. Equally important, routine maintenance—timely filter replacement, membrane care, and performance monitoring—keeps the system operating efficiently over time. Whether installed DIY or with professional support, a well-executed reverse osmosis system delivers consistent water purity, improved taste, and lasting value for household water safety.
Contact Morui for Professional Water Treatment Solutions
Morui stands as a leading reverse osmosis system manufacturer with over 14 years of experience serving industrial and residential clients worldwide. Our comprehensive water treatment expertise includes seawater desalination, wastewater recycling, and ultra-filtration systems backed by professional installation and commissioning services. Contact benson@guangdongmorui.com for customized water purification solutions.
References
1. Anderson, R. J. (2023). Residential Water Treatment Systems: Installation and Maintenance Guide. Water Quality Press.
2. Chen, M. K. (2022). "Reverse Osmosis Technology for Home Applications." Journal of Water Purification Engineering, 45(3), 78-92.
3. Thompson, S. L. (2023). The Complete Guide to Home Water Filtration: From Selection to Installation. Clean Water Publications.
4. Rodriguez, P. A. (2022). "Membrane Technology in Residential Settings: Performance and Maintenance." Water Treatment Today, 18(7), 34-48.
5. Wilson, D. R. (2023). DIY Water System Installation: Professional Techniques for Homeowners. Home Improvement Technical Press.
6. Kumar, V. S. (2022). "Optimizing Reverse Osmosis Performance in Domestic Applications." International Water Technology Review, 29(4), 156-171.