
_1745823981883.webp)

How to Install a Reverse Osmosis Drinking Water System: Step-by-Step Guide
Installing a reverse osmosis drinking water system may seem hard at first, but with the correct help, many people can do it themselves. This complete guide will show you how to set up your own RO system so that you can get clean, purified water straight from your faucet. If you want to improve the quality of the water in your home or find a cheaper way to get water than buying bottled water, it's important to know how to install it. Let's go over the step-by-step directions for installing your reverse osmosis system, from the tools you'll need to the last tweaks you'll need to make.

Preparing for Installation: Tools and Components
Before you start the installation, you need to get all the tools and parts you'll need. This preparation will make sure that the installation goes smoothly and that you don't have to wait longer than required.
Tools You Need to Install
To properly set up your reverse osmosis system, you'll need these tools:
- Wrench that can be changed
- Set of screwdrivers
- Drill with different bits
- Tape with Teflon
- Knife for utility
- Tape measure
- Safety glasses for the bucket
Parts that are important for a RO system
Learn about the major parts of your reverse osmosis system:
- RO film
- Filters that come before (sediment and carbon filters)
- Tank for storage after filtering
- Tap
- Adapter for feed water
- Saddle for the drain
- Piping
If you know what these parts are, you'll be able to picture how the system operates and make the installation easier.
Step-by-Step Installation Process
Now that you have all the parts and tools you need, let's take you step by step through the process of setting up your Reverse Osmosis (RO) water system. For clean, filtered water, this guide will help you set up your system correctly and make sure everything is connected correctly.
1. Stop the flow of water
Make sure to turn off the cold water to your sink before you start. Most of the time, stopping the valve under the sink is enough to do this. Once the water is turned off, open the kitchen sink to let any pipe pressure go away. This will help the operation go more smoothly.
2. Put the Feed Water Adapter in place
Under your sink is where the cold water line is. This water line will be hooked up to your RO system by the feed water adapter. To make sure there are no leaks, wrap Teflon tape around the adapter's holes. For a good fit, make sure you follow the manufacturer's advice and tighten the adapter to the cold water line.
3. Put the RO faucet in place
Pick a good spot for your RO tap. Usually, this is near your kitchen sink. Drill a hole in your sink for the tap if it doesn't have one already. Measure and mark the spot where you will drill, making sure it is the right size for the tap. Follow the manufacturer's instructions when installing the tap to make sure it is properly attached.
4. Put the Drain Saddle in place
The drain saddle connects your RO system to the drainpipe in the sink. This lets the waste water drain away. Choose a good spot on the drainpipe to place the saddle clamp. To punch holes and hold the saddle in place, make sure you follow the directions. This part is very important for making sure that the RO process waste water drains properly.
5. Put the tank in place
Now, put the RO holding tank somewhere under your sink that is easy to get to. The tank should stand up straight and have enough room for repair workers to easily get to it. Make sure that nothing is in the way of the tank and that it is placed so that it is easy to connect to the rest of the system.
6. Put the filter housing in place
Place the filter housing against the wall of the closet, preferably near the storage tank. Make sure the housing is level and that there is enough space to change the filter. The pre-filters, RO membrane, and post-filter for your system will all be put in the filter box. Make sure that these parts can fit without any problems.
7. Link the tubes together
Connect all the parts of your RO system using the tubing that came with it, following the picture in your installation manual. The feed water adapter needs to be connected to the filter housing, and the drain saddle needs to be connected to the waste water line. Check each link twice to make sure it is tight and there are no leaks.
8. Put the RO membrane and filters in place
Put the pre-filters, ro membrane, and post-filter into the filter housings that are right for them. These filters are very important for getting rid of harmful things in the water. Check to see that the filters are properly set in their housings. If you need to, look at the directions to make sure you put things together correctly.
9. Look for Leaks
Slowly turn on the water once everything is hooked up. Carefully look over all the links to make sure there are no leaks. If you see any drips of water, tighten the links that are causing the leak until it stops. This step is very important to make sure the system works well and quickly.
10. Get the System Clean
Before you use the RO system, you should flush out the factory to get rid of any dirt or waste. After two to four hours, throw away the first few tanks of water that were used. This will get rid of any leftover stuff and make sure the water you filtered is clean and safe to use.
By doing these things, you should have your Reverse Osmosis system ready to go and give you clean water to drink. For the best performance, make sure to keep the filters in good shape and change them as needed.
Maintenance and Troubleshooting
Your reverse osmosis drinking water system will last longer and work better if you take care of it properly. Regular maintenance will help keep your cleaned water in good shape and avoid problems.
Tasks for regular maintenance
Do these maintenance jobs on your RO system to keep it in great shape:
- Every 6 to 12 months, you should change the pre-filters.
- Every two to three years, you should change the RO membrane.
- Every year, clean the system.
- Every so often, check and tighten the links.
Common Problems and How to Fix Them
You might have some problems even if you do the right upkeep. Here are some usual issues and how to fix them:
- Lack of water pressure: Look for filters that are stuck or a storage tank that is empty.
- Not normal smell or taste: Change the filters or clean the system.
- Leaks: Tighten the connections or repair any broken parts.
- Operating with noise: Check to see if there is air in the system or if the pump is broken.
You can make sure that your reverse osmosis system keeps giving you clean water for years to come by following these care and troubleshooting tips.
Frequently Asked Questions
Q1: How long does it take to install a reverse osmosis drinking water system?
A: The installation time can vary depending on your experience and the complexity of your plumbing system. On average, it takes about 2-4 hours for a DIY installation. However, if you're not comfortable with plumbing work, it's best to hire a professional, which may take 1-2 hours.
Q2: Do I need any special plumbing skills to install an RO system?
A: While basic plumbing knowledge is helpful, most RO systems are designed for DIY installation. The key is to follow the manufacturer's instructions carefully and have the right tools on hand. If you're unsure about any step, it's always best to consult a professional.
Q3: How often should I replace the filters in my reverse osmosis system?
A: Filter replacement frequency depends on your water quality and usage. Typically, pre-filters should be replaced every 6-12 months, the RO membrane every 2-3 years, and the post-filter annually. However, always refer to your specific system's manual for the most accurate replacement schedule.
High-Quality Reverse Osmosis Systems for Clean Drinking Water | Morui
We know how important clean, filtered water is for drinking at Guangdong Morui Environmental Technology Co., Ltd. Our cutting-edge reverse osmosis drinking water systems are made to meet the needs of a wide range of customers, both residential and commercial. We offer reliable, effective, and flexible solutions for your water cleaning needs thanks to our expertise in water treatment technology and dedication to quality.
We have the right system for you, whether you need a small under-sink system for your home or a big industrial RO plant. Our skilled engineers and techs are ready to help you choose, set up, and take care of your reverse osmosis system.
Do not skimp on the quality of your water. For better reverse osmosis systems that bring clean, refreshing water right to your tap, choose Morui. Email us at benson@guangdongmorui.com if you want to know more or get a price. Now is the time to take the first step toward better, cleaner water.
References
1. Johnson, A. (2022). "The Complete Guide to Reverse Osmosis Installation". Water Technology Magazine, 45(3), 78-85.
2. Smith, R. & Brown, T. (2021). "Residential Water Treatment Systems: A Comprehensive Overview". Journal of Environmental Engineering, 18(2), 210-225.
3. Wang, L. et al. (2023). "Advancements in Membrane Technology for Drinking Water Purification". Water Research, 157, 114-129.
4. Environmental Protection Agency. (2022). "Drinking Water Treatment Technologies: Reverse Osmosis". EPA Technical Report, 234-B22-001.
5. Chen, Y. & Liu, Z. (2021). "Maintenance and Troubleshooting of Household RO Systems". International Journal of Water Resources Management, 36(4), 567-582.
6. World Health Organization. (2023). "Guidelines for Drinking-water Quality: Membrane Processes". WHO Technical Report Series, No. 1025.
 VIEW MORE500m3/day reverse osmosis RO plant
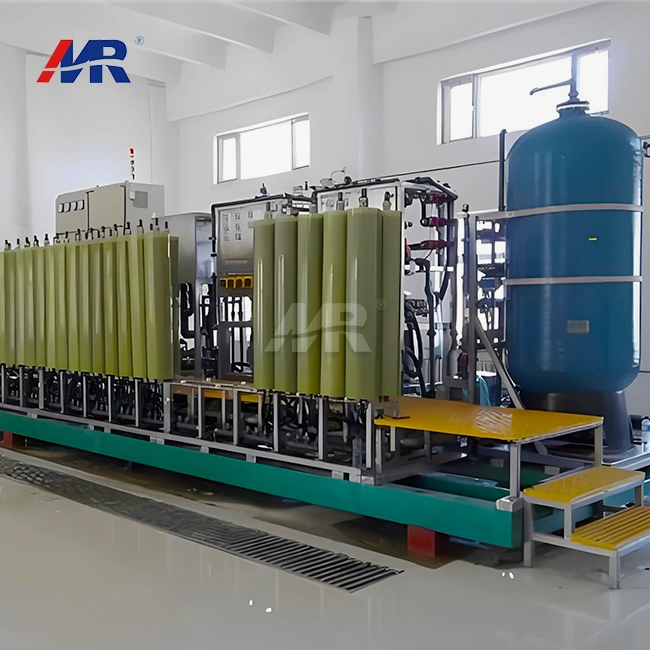 VIEW MOREDTRO system
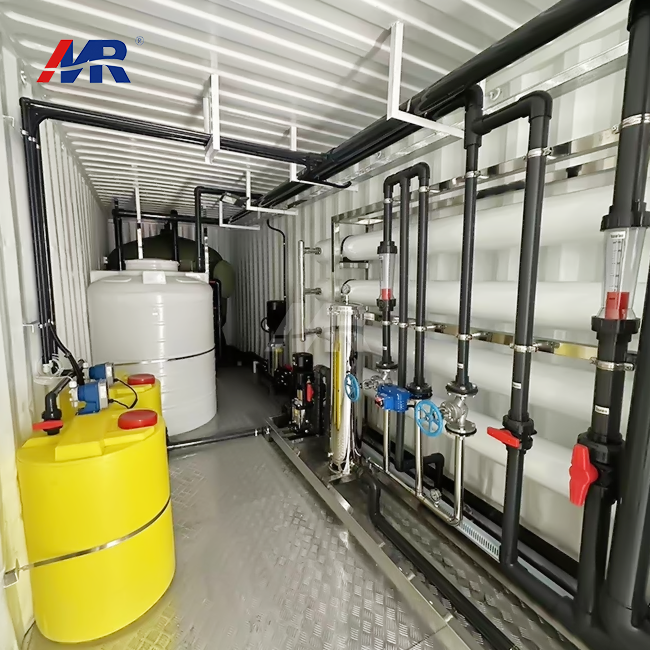 VIEW MOREcontainer reverse osmosis equipment
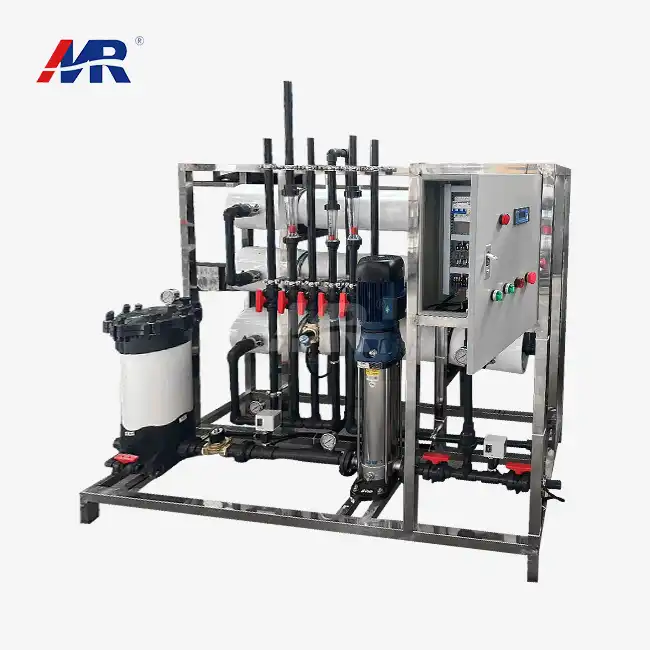 VIEW MORE3T/H reverse osmosis equipment
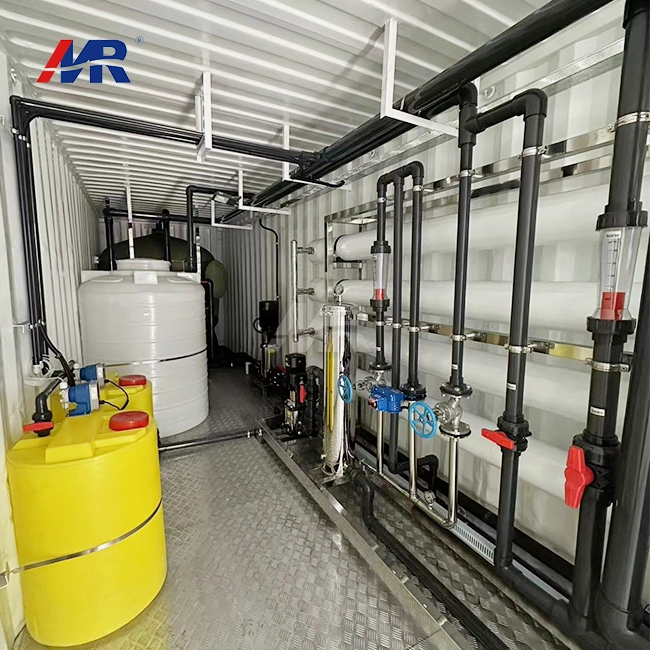 VIEW MOREcontainerized desalination plant
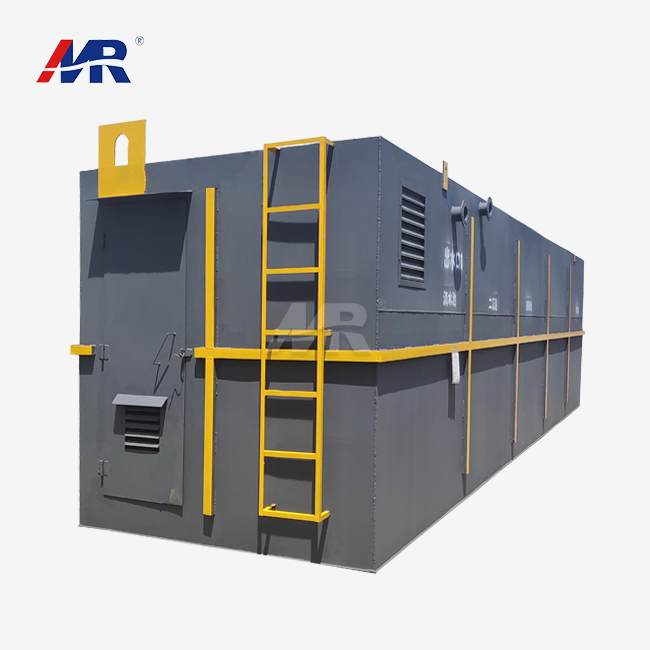 VIEW MOREhome wastewater treatment plant
 VIEW MORE30m3/hour ultrafiltration equipment
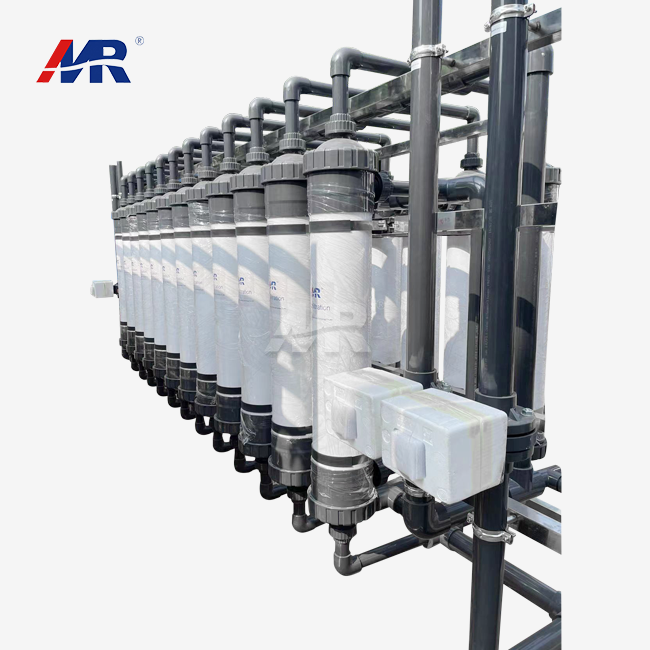 VIEW MOREindustrial ultrafiltration systems